


If you saw this Super C a little while back, you probably thought, “Yikes.”
That’s because it came in rough. Like, real rough. The kind of rough that makes you question if it’s worth saving or if you should just grab a match and start over.
Let’s put it this way. The walls were coming apart. The roof had a sag that could collect rainwater. Clearance lights were leaking. Foam was jammed into weird places as a desperate fix, and everything underneath? Rotten. It was the kind of job where we knew we were going to be deep in it… and we were.
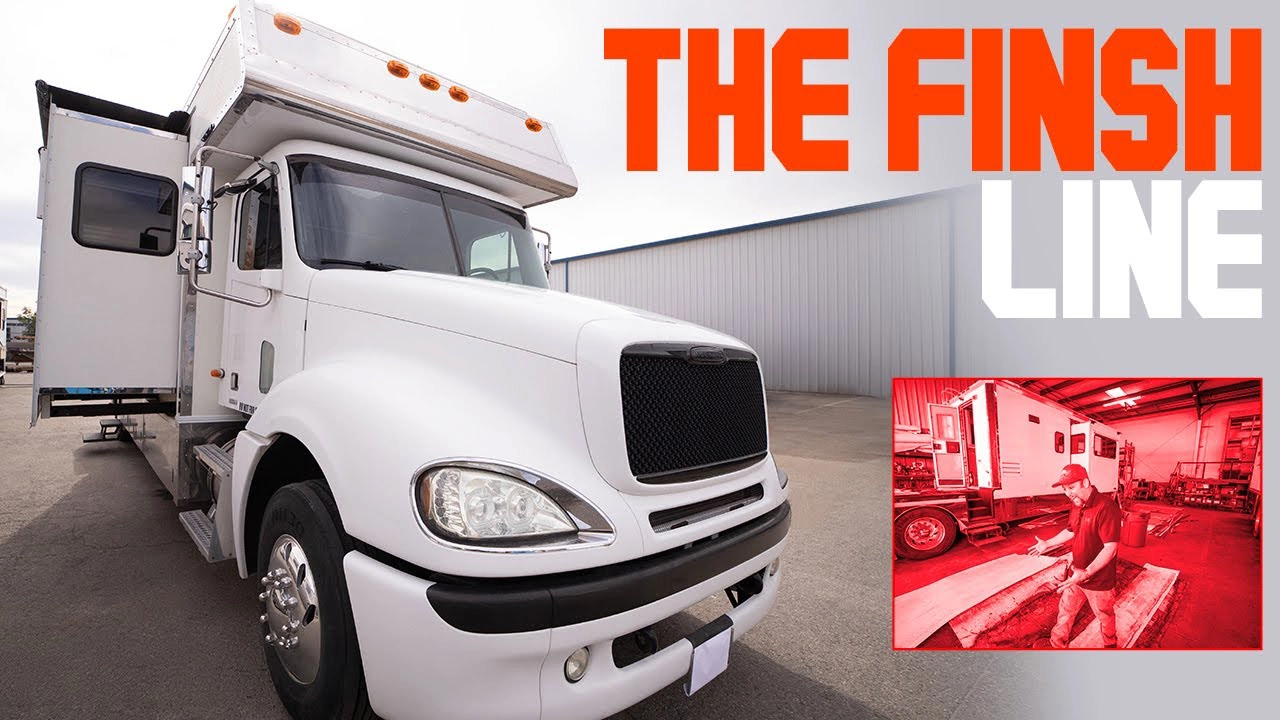
But now? You’d never know it. She’s done, sealed, solid, and looking sharp.
Let’s walk through what it took to pull off this complete resurrection.
Structure First
We didn’t just patch over the issues. We tore it all down!
All the exterior moldings came off. Every chunk of rotted wood was removed. Nothing gross got to stay.
We replaced the damaged wood with marine-grade plywood that was tough enough for boats, so naturally it was more than tough enough for this beast as well. We didn’t mess around with little scraps either. We cut full sheets to size so the structure would be solid in single-piece sections, not a jigsaw puzzle of weak spots.
Then we glued and screwed everything. No staples. Ever. We’re not building a shipping crate here. This thing’s gotta take highway speed, rainstorms, and the occasional pothole crater.
Fixing the Roof Sag and Light Leaks
This roof had a belly in the middle. Not a minor sag but a real droop. So we carefully jacked it back up during reassembly to bring it back to the right shape. And not just for looks, because if the roof isn’t straight water finds its way in (and then you’re right back at square one!).
Then we got to the clearance lights. These little guys were supposed to keep water out, but instead, they were letting it in. We ripped them all out, replaced every single one, and sealed them up tight. No gaps, no leaks, no shortcuts.
Chrome and Trim That Shines Again
Here’s the cool part: out of all the exterior trim, we only had to replace two vertical chrome pieces. Everything else? Original.
We took every stainless steel trim piece off and then gave it a proper polish (the kind that makes you say “whoa” when the light hits it), and then we reinstalled it. That’s one of the most satisfying parts: taking old and tired trim and making it look better than new.
It’s a little extra work, but totally worth it.
Surprise: Rot City Under the Cap
There was this foam shoved in between the roof and the floor (it felt like someone’s last-ditch effort to keep the thing from rattling apart). It worked for a while… until everything underneath started to rot out that is.
Once we pulled it apart, we found soggy wood and soft spots hiding everywhere. We stripped it all the way down and then we rebuilt the framing with fresh marine-grade plywood. Then we layered on new Filon siding.
The Wall Was Literally Coming Off…
On the passenger side, we had a wall starting to split away from the rest of the coach. You could actually see inside, which is not great when you’re driving through rain or wind!
The original builders stapled the wall sections together. That works for a little while, and maybe just long enough to get it off the lot. But years down the road? Not so much.
We pulled the panels apart, took out the old short screws, and went back in with stronger fasteners that reached solid wood.
Then we added aluminum angle brackets on the inside to tie everything together from behind the sofa, which is invisible from the outside, but rock-solid inside. It’s the kind of fix that doesn’t just hold it together, it makes it better than it was before!
Getting Creative With Sealing and the Interior Touches
We hit one tricky spot where the new roof had to be sealed to the existing wall, but the access was insanely tight. There was no way to get a normal sealant gun in there. So we grabbed some PEX tubing, shoved it onto the nozzle of the sealant tube, and snaked it into the gap.
It worked like a charm.
We got full coverage inside the joint, sealed it up tight, and the seal held.
While the sofa was out, we used the chance to reinforce the front corners on the inside with more aluminum angle. We reinstalled the oak fascia up front to cover any leftover staple holes, and we also even managed to save and reinstall the original blue carpet too.
Final Product
Now this thing is dialed in!
It’s structurally solid. Fully sealed. Trimmed out clean. Everything fits like it should and it drives quiet. No more rattles, no more leaks, no more stress.
Every coach we work on throws something new at us. Sometimes it’s a quick fix. Other times (like this) it’s a full-blown rebuild.